How to install the protective case and batteries on a micro:bit?
In this video, follow Kyle as he installs the parts needed to use the micro:bit as part of the Wally the Walrus and the Great Storm educational kit.
These tools can also be used for other purposes, as they ensure that the micro:bit is properly protected and connected for optimum use.
The protective case
Here’s the micro:bit in its box, also known as its protective case. There are 4 screws in each corner to secure the case, which can be removed simply by unscrewing them.
The four screws should be very easy to remove by hand, but if it’s too difficult, don’t hesitate to use a screwdriver.
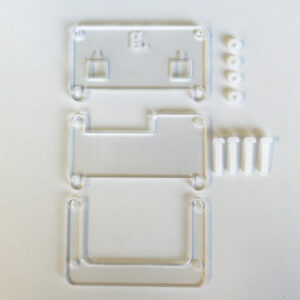
Once the screws are removed, you’re left with three pieces of acrylic in your hands, which make up the complete case.
At the front, we find the one in the shape of the letter U, positioned just above the one with the G and the two holes for the buttons. Then there’s the micro:bit and finally the last piece at the back.
It’s easy enough to rebuild in a few seconds, as the connections are positioned in the hole at the top of the rear panel. Next, the two holes in the acrylic piece with the GenieLab logo are used to insert the A and B buttons. Finally, the U-shaped piece is placed just above, to protect the electrical connections.
The battery holder
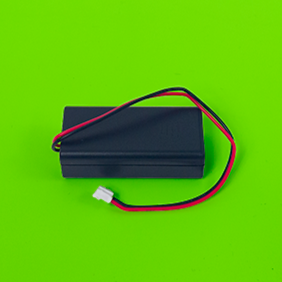
After that, we can take a look at our battery holder. The lid closes and opens by sliding it over the small notched lines on the top, although you may need to press a little to make it slide more easily.
For batteries, there are two sides: a positive side with a “+” symbol, which is very often copper-colored, and a negative side with a “-” symbol.
You can take the negative side and place it in the battery holder against the spring. The second battery goes in the opposite direction to the first, still with the negative side towards the spring, and you can then close the cover.
The connection
The battery holder can then be turned upside down and switched on using the “on/off” switch.
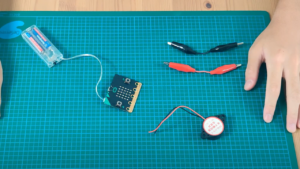
Then plug the end of the battery holder cable into the white connector on the micro:bit. You’ll feel a little click when the connection is made, but be careful: the connections are difficult to disconnect.
If you wish to disconnect the two parts, take care not to pull on the cable, as this can weaken or even break the wires. Instead, try to detach by firmly holding the white part, which is much less likely to break.
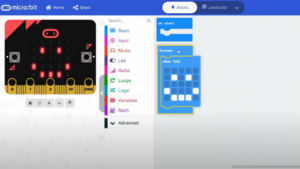
Next step: connect the micro:bit to your computer and download the code from the MakeCode platform!
- 9 February, 2024
Subscribe to the newsletter
Keep up to date with the
techno-educational news!
Our other micro:bit videos...

Would you like to find out more?
Book a call with our team!
We’ll help you discover our products and installations, and set them up in your classroom.
Explore our complete offer !
Discover all our educational and techno-creative kits, as well as our workshop and training offers, in our online store.