Using the Cricut in the classroom: presentation, creations and tips!
The Cricut is an electronic cutting machine that opens up a world of creative possibilities in educational settings. By integrating this tool into the classroom, teachers can enrich their lessons with hands-on, engaging and personalized projects. This article explores the Cricut in detail, presents inspiring examples of classroom creations and shares tips for optimal use.
What is a Cricut?
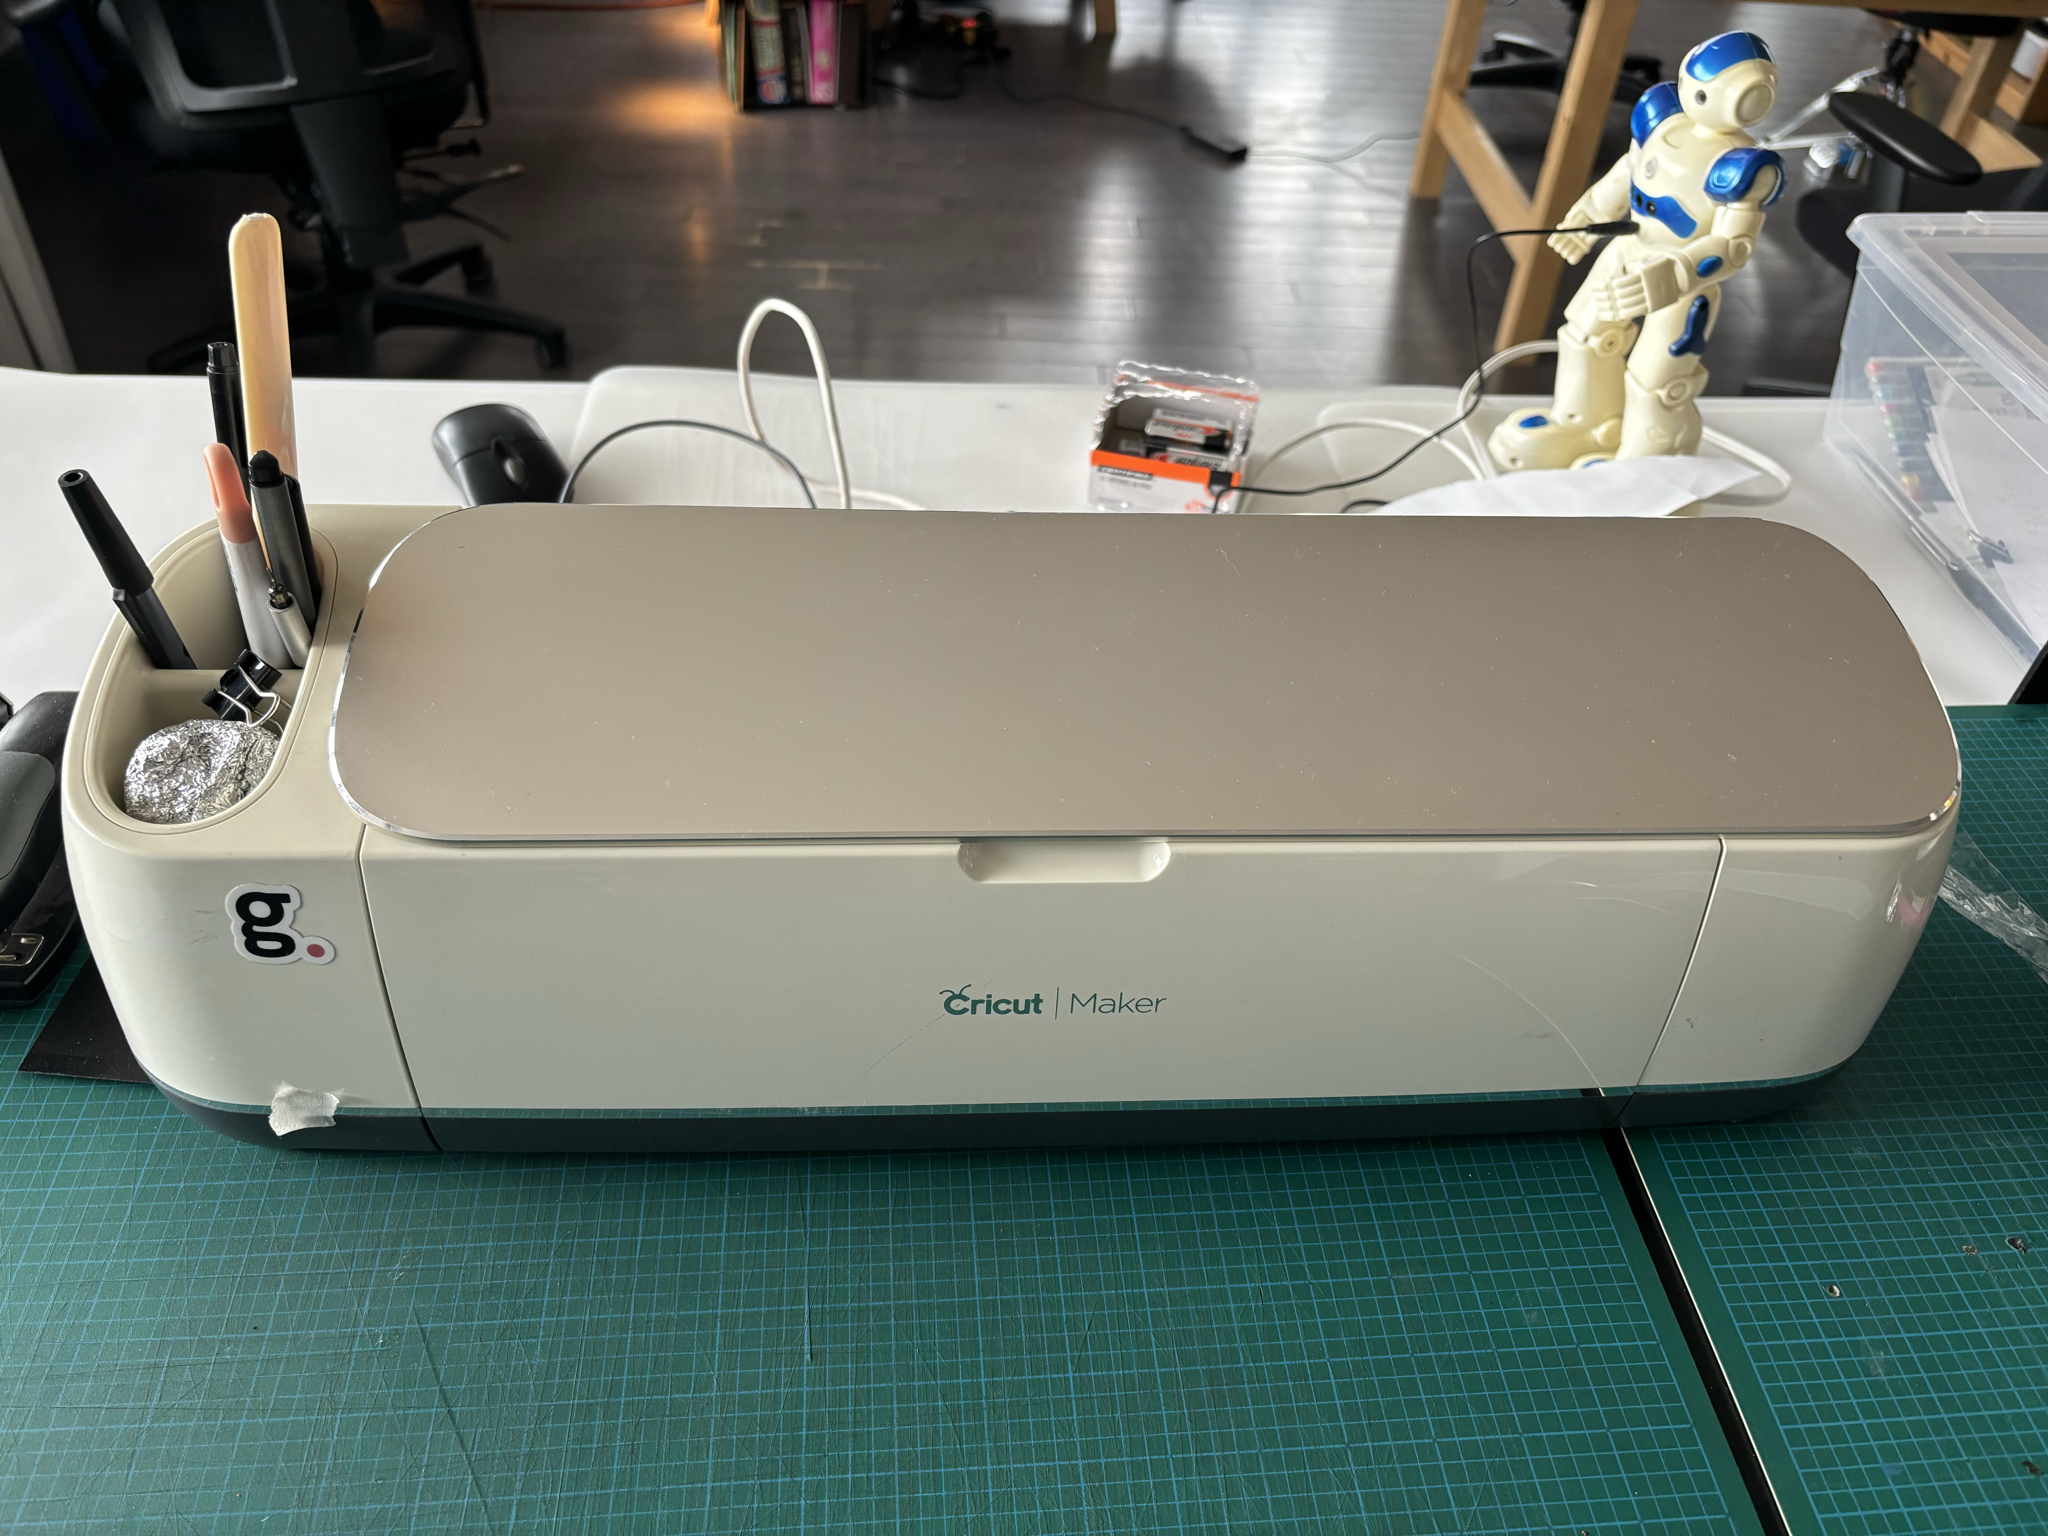
The Cricut is a cutting machine that uses blades and various tools to cut materials such as paper, vinyl, fabric, cardboard and much more. Connected to a computer via USB or Bluetooth, it is controlled by a software program, Cricut Design Space, which lets you create and customize designs for cutting. Here are the main models available:
- Cricut Explore Air 2: Suitable for beginner teachers, it cuts over 100 different materials.
- Cricut Maker: More versatile, it can cut over 300 materials, including fabrics and thicker materials.
- Cricut Joy: Compact and portable, ideal for quick and easy classroom projects.
Each model offers unique features that can meet different pedagogical needs.
Why use Cricut in the classroom?
Student involvement
The use of Cricut transforms traditional lessons into interactive activities. Students actively participate in the creation of projects, which increases their engagement and interest in the subjects covered.
Skills development
Using the Cricut, students acquire design, technology and problem-solving skills. They learn to use creative software, manipulate materials and understand manufacturing processes.
Lesson customization
Teachers can create customized teaching aids. Posters, labels and visual aids adapted to the specific needs of their students enable them to differentiate teaching and respond to different learning styles.
Classroom creations with Cricut
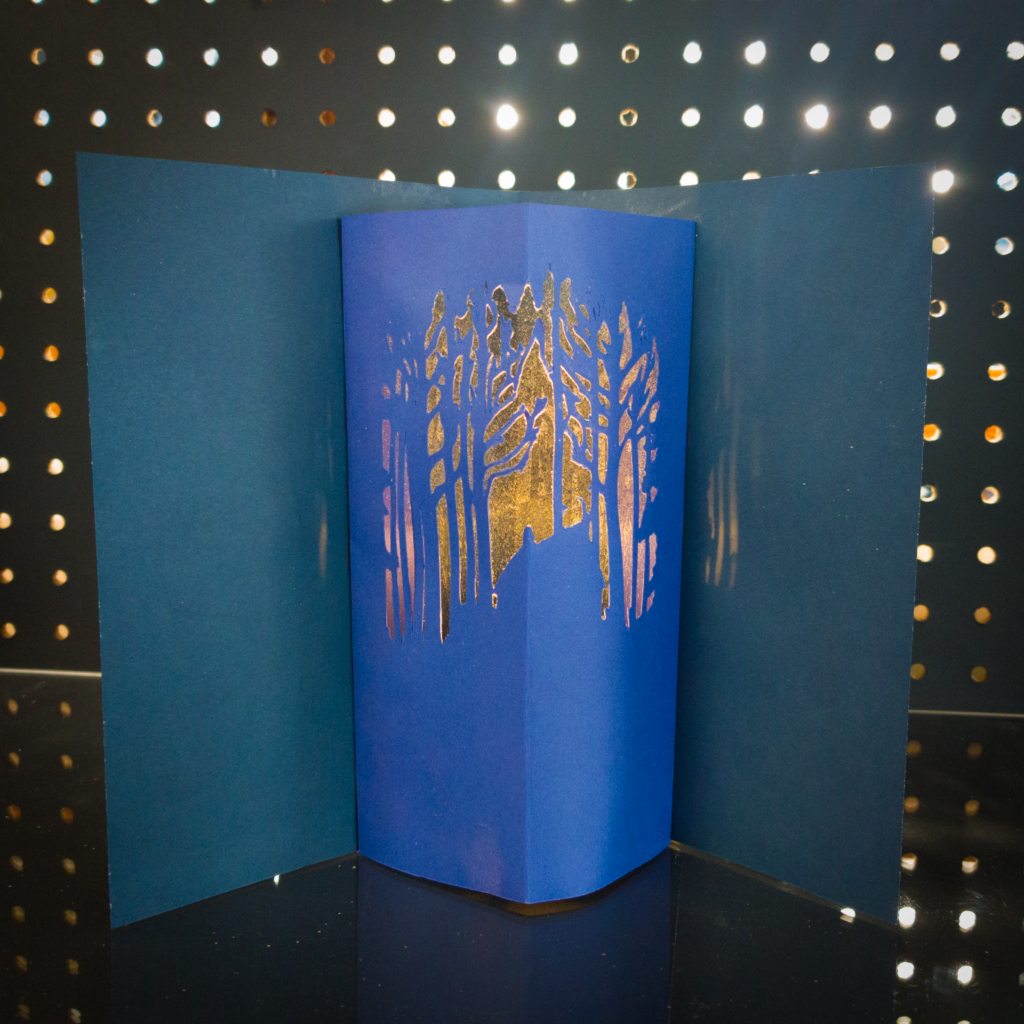
Party and thank-you cards
Students can design and cut personalized cards for a variety of occasions, such as parties or thank-you notes. This simple project allows students to familiarize themselves with the machine and express their creativity.
Materials required :
- Card stock
- Cricut pens for writing messages
- Glue
Steps:
- Use Cricut Design Space to choose or create a card design.
- Cut out shapes and patterns with the Cricut.
- Assemble and personalize cards with handwritten or printed messages.
Educational posters
Educational posters are an excellent way of visualizing complex information. Students can design and create posters for science, history or literature projects.
Materials required:
- Large paper
- Vinyl for letters and patterns
- Transfer tools
Steps :
- Design the poster in Cricut Design Space, integrating text and images.
- Cut out elements using Cricut.
- Apply the cut-outs to the paper with the transfer tool to achieve a professional finish.
Geometry projects
The Cricut is ideal for cutting out precise geometric shapes, which is particularly useful for math lessons. Students can create three-dimensional models to explore concepts such as volume and surface.
Materials required:
- Cardboard
Construction paper
Glue
Rulers
Steps:
- Draw geometric shapes in Cricut Design Space.
- Cut out shapes with the Cricut.
- Assemble shapes to create three-dimensional models, such as cubes, pyramids or prisms.
Tips for using the Cricut in the classroom
Training and practice
It’s crucial that teachers familiarize themselves with Cricut and Cricut Design Space before introducing it to students. Online resources, such as video tutorials and webinars, can help with understanding basic and advanced functionality.
Practical tips:
- Start with simple projects to get used to the machine.
- Follow step-by-step tutorials available on the Cricut website or on YouTube.
- Practice different cutting and assembly techniques before teaching them to students.
- Contact GénieLab to be trained by experts in the field!
Getting started with simple projects
To avoid overloading students right from the start, start with simple, progressive projects. This allows students to understand the basics of machine operation and gain confidence.
Examples of simple projects:
- Labels for school supplies.
- Simple classroom decorations, such as garlands.
- Small personalized stickers.
Create project kits
Preparing project kits containing all the necessary materials saves time and simplifies classroom organization. Each kit can include detailed instructions to help students work independently.
Kit composition :
- Pre-cut or pre-measured materials.
- Step-by-step instructions with illustrations.
- Tools such as glue, Cricut pens and transfer ribbons.
Involving students in the process
Encouraging students to participate in all stages of the project, from design to cutting and assembly, reinforces their autonomy and understanding of the creative process.
Participatory activities:
- Brainstorm design concepts in groups.
- Use of Cricut Design Space to draw their own projects.
- Assembly and personalization of finished projects.
Use suitable materials
To guarantee good results and avoid damage to the machine, use materials that are suitable for each type of project. Each Cricut model has different specifications regarding compatible materials.
Recommended materials:
- For the Cricut Explore Air 2: card, adhesive vinyl, fusible web.
- For the Cricut Maker: leather, fabric, balsa wood in addition to materials compatible with the Cricut Explore Air 2.
- For the Cricut Joy: vinyl, lightweight construction paper.
Safety first
Safety is paramount, especially when children are using cutting machines. Although the Cricut is designed to be safe, proper supervision is essential.
Safety instructions:
- Always supervise the use of the machine, especially with young students.
- Explain safety instructions before each use.
- Make sure students know emergency procedures in the event of a problem.
Conclusion
Integrating Cricut into the classroom offers a wealth of possibilities for enriching learning and encouraging creativity. By following these tips and exploring the various possible projects, teachers can transform their classroom into a dynamic and innovative space. With a little practice and preparation, the Cricut can become an indispensable tool for engaging and memorable lessons. Educational innovation has never been so accessible!
GénieLab offers Cricut workshops to help you use it, train you to create multiple projects or run workshops right in your school! Contact us to find out more.
Subscribe to the newsletter
Keep up to date with the
latest techno-educational news!
- 11 June, 2024
Would you like to find out more?
Book a call with our team!
We’ll help you discover our products and installations, and set them up in your classroom.
Explore our complete offer !
Discover all our educational and techno-creative kits, as well as our workshop and training offers, in our online store.